How to create a Lesson using the Flash Cards Component?
Flash Cards are a set of picture cards where the learner is asked to answer a question related to the card. The learner answers the question by typing the answer with the keyboard. He/she can reveal the correct answer by turning the card.
When to use this Component
Flash Cards can be used in language learning for drilling words and expressions. Flash Cards can also be used to present math problems or help learners remembering facts such as historical dates, formulas or names.
How it works
-
The Task description is provided on the top of the page. The question can be found below the image.
-
Type the answer in the text field below the question.
-
If a hint is provided, click the Hint Icon on the right side of the answer text box to reveal the hint.
-
Click the Check button on the card to check if the answer is correct. The card will flip and show the correct answer.
-
If the user has entered the correct answer, it will be highlighted in green.
-
If he/she has entered a wrong answer, it will be highlighted in red.
-
The click on the Next button and you will be shown the next card with a picture.
-
You can navigate between the cards using the Next and Previous buttons and try answering all the questions.
Features of this Component
-
You can add Tips text optionally for the answers.
-
You can add as many cards as possible to a page.
-
You can easily navigate between the images using the navigation buttons.
You can create a page using this component by following the below steps.
Step 1: Go to the required Slide

If you are creating a new Presentation, you will be taken to the first slide where you can use this component and create a page. Alternatively, if you want to add a new slide where you want to use this component, click on the '+' icon on the lower right corner as shown in the above image.
Step 2: Click on the Flash Cards Component Icon

Click on the More elements [1] icon then click on the Flash Cards [2] component icon as shown in the above image. You will see a screen similar to the image shown below.
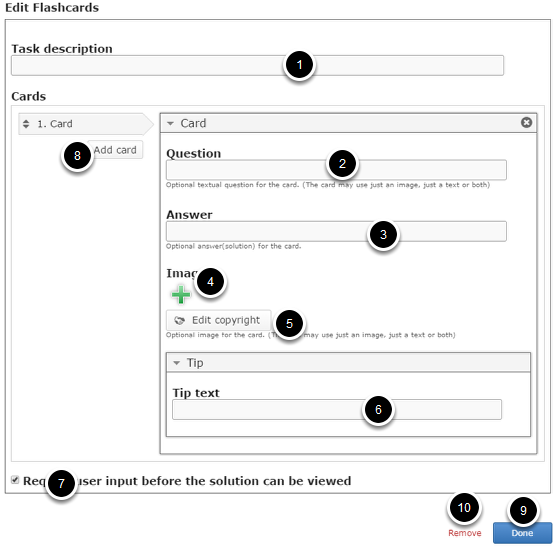
On this screen, you can
-
Add the Task description text on the Task Description [1] field.
-
Add an optional textual question for the card in Question field [2] under the Cards option.
-
Add an optional answer/solution for the card in Answer field [3].
-
Add an optional image for the card using the '+' icon under Image [4] title and edit its copyright details by clicking the Edit Copyright [5] button.
-
Add tips for the answer in Tip text [6] field under the Tip title.
-
Enable Require user input before the solution can be viewed [7] checkbox to check whether user enters the answer before viewing the solution.
-
Add more cards by clicking on the Add card [8] button.
-
Click on the Done [9] button to save the changes.
-
Remove the component by clicking the Remove [10] button.
Step 3: Add Task Description

Type the description about the task in the Task description field as shown in the above image. This field is used to introduce the topic to the learner. It is a static text displayed above the Flashcards throughout the entire set of cards. It will remain unchanged for all the cards.
Step 4: Enter the Question (Optional)
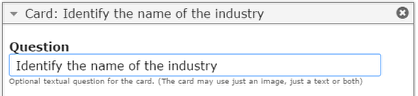
The Question text can be customized individually for each card. We'll use the Question field to give the learner instructions on how to solve the problem. You can alternatively use this field as a textual prompt or to give the learner an extra hint. The Question text is optional. Start entering the question in the Question field under the Card title.
Step 5: Enter the Answer

In the Answer field, we provide the correct answer. Just type the answer which will appear on the rear of the card.
Step 6: Add an Image (Optional)

You can add an optional image for the card by clicking the '+' icon under the Image title as shown in the above image. You will choose an image file as shown in the below image.

On the above screen, select the required image [1] and click the Open [2] button.
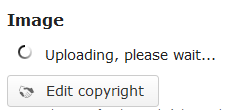
You can see image being uploaded as shown in the above image.

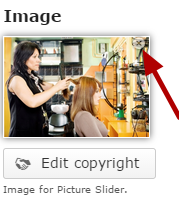
Once the image has been uploaded, it will be shown under the Image title as shown [1] in the above image. Optionally, you can update the copyright details of the uploaded image by clicking the Edit copyright [2] button shown above. Once you click the button, you will see the below screen.
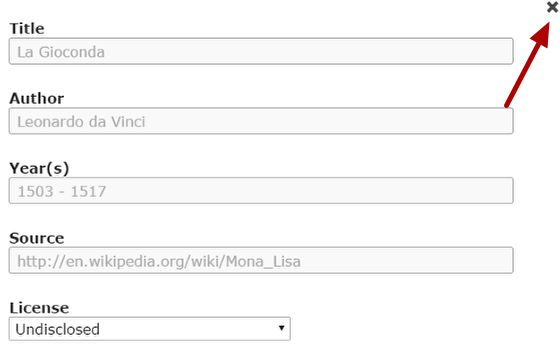
You can enter the image's copyright details on the above screen and click the Close button to update it. You can remove the uploaded image by clicking on the Remove file button shown on the below image.
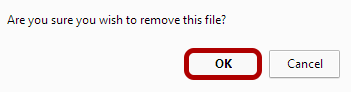
You will be prompted to remove the image as shown in the below image. Click OK to confirm and remove the image.
You can also update the image without removing it by clicking on the image. You will be offered to select the image again as mentioned in step 6 for other cards.
Step 7: Enter Tip Text (Optional)

You can give the Tips for the question in the Tip text field under Tip title. Please note that this field is optional.
Step 8: Add more Cards (Optional)
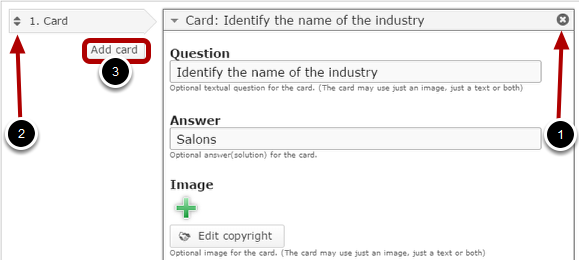
By default, there is only one card available at the beginning. If you want to add another one, click the Add card [3] button as shown in the below image. Another card will be added after you click the Add card button. You can remove any card by clicking the X [1] button on the top right corner of the card window. You can also change the order of the cards by dragging the Double Headed Arrow [2] button on the top left corner of the card window. Similarly, you can add as many cards as you want.
Step 9: Enable Require User Input before the Solution can be viewed Checkbox (Optional)
If you click the Require user input before the solution can be viewed checkbox, learner must enter the text into the answer field before clicking the check button to view the correct answer. This option is optional, and so tick the checkbox if you need so.
Step 10: Click the Done Button

Once you've updated all the details, click the Done [1] button shown above to complete editing the page. You can cancel creating the page just by clicking the Remove [2] button shown above. If you click the Done button, you will see the below screen with a preview of the created page.
Step 11: Click the Create Button

If you still want to edit the page, just double click on the preview page, and you will be taken to the Edit page. If you've done all the changes, you can click the Create button as shown above picture to finish editing the page.

You can see the finished page as shown in the above image.
Notes
- You can create as many pages as possible in a Presentation using this component. However, it is advised to use pictures that are similar in size to ensure a smooth experience for the learner.
- You can add as many cards as possible in a page using this component.
- You can upload images in .jpeg, .png and .gif formats only.
- You can add landscape and portrait pictures.
- The image is optional. If you don’t add an image, it will be replaced with a question mark.
- Although the Question and Answer fields are optional, it is advised to add some text to the Answer field, so that the answers will be highlighted in green or red appropriately.